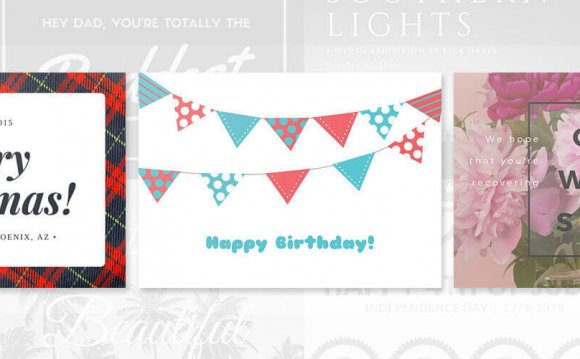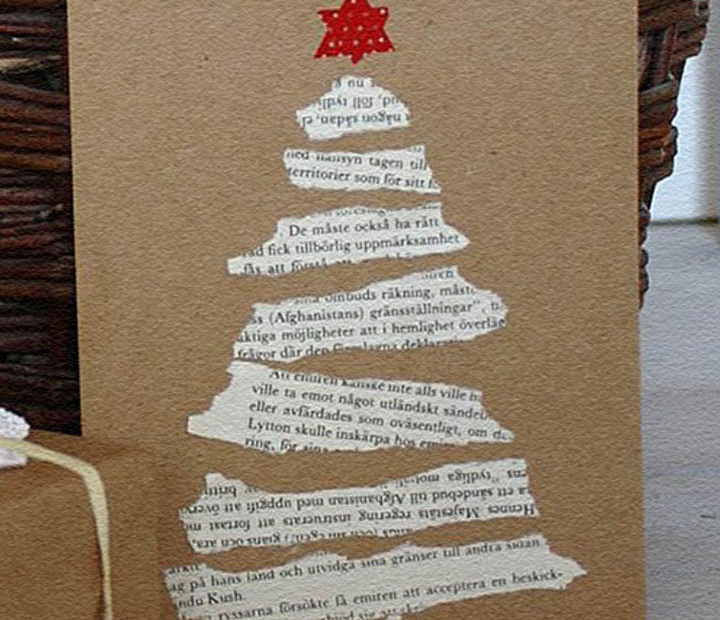

Use Moonpig to create very special seasonal greetings for family and friends.
Create a card online with MoonpigAvoid friends and family receiving the same, tired, old Christmas cards this year by designing your own personal creations and even adding your own photos. We show you how Moonpig can make this a Christmas to remember. See: Best Christmas tech gifts 2015 UK.
Making your own, personalised, Christmas cards is simple and fast thanks to online greeting card services such as Moonpig, Funky Pigeon, and Snapfish. Why rely on tired old images of Robins and trees when, with a little effort, you can create unique seasonal missives that look like they come from you rather than Tescos. The step by step design templates make it very easy to create your card, and you can choose from a range of themes that include humour, traditional, or ones specifically for mums, dads, or grandparents. Just add your own text, or even a photograph, to design cards that are far more personal than the ones you’ll find in the shops. The best part is that you don’t have to wait for the finished articles to arrive at your door, as they can be sent directly to your recipients once you’re happy with the design. There’s also the option to add flowers or a range of gifts to your order if you wish.
In this How-To we’ll show you the simple steps it takes to create your own, unique cards, using the Moonpig website. The whole process should take around 20-30 mins, so put the kettle on and then settle down to begin your seasonal salutations. Get the best tech deals via our Black Friday 2015 live blog.
Make personalised Christmas cards
Step 1: Go to and create a new account. These are free to set-up and don’t require you to enter payment details of any kind. If you’d prefer to design your cards via your phone or tablet there are also iOS and Android apps available in the relevant stores.
Step 2: On the main page you’ll see a menu at the top that includes Cards, Flowers, Gifts, and a few others options. Click on Cards, then select Christmas. Within this section there are a wide choice of themes. We’ll choose Photo Upload for our example.
Step 3: With the theme selected you’ll now be presented with the various styles of card you can use. There are quite a few, ranging from simple, large, single images, up to multiple photos placed within comic designs. Take your time and find one that catches your imagination.
Step 4: Once you have decided on a design it’s time to personalise it. In the right hand panel where the large version of the card is displayed you’ll see options above that include the orange Personalise button. Click on this to start the customisation process.
Step 5: On the design page there are two main areas that you’ll use to customise the card. Firstly, along to upper area of the panel are the various area of the card itself - front, inside, back - all of which can be selected by clicking the boxes.
Step 6: The other editable area is on the card itself. Hovering your mouse over the design will highlight boxes where you can place photos or change the text. To start editing your card, just click on one of the boxes.
Step 7: Text is automatically formatted so that it retains the general look of the card. You’ll only have a limited amount of space on the front, so keep things brief, but obviously the main message inside can be a lengthier one.
Step 8: Once you’ve entered your text in the relevant parts of the card, you can start work on the images. Click on one of the boxes and you’ll be given the choice of uploading photos from your PC or taking a new one with your webcam.
Step 9: With your images uploaded you can use the right hand panel to zoom in on a face, drag the need in the Rotate section to fine tune the angle, then move the orange box in the main panel to position things perfectly. When you’re done click confirm.
Step 10: Now your design is finished, and you’ll want to order copies to send out to your soon to be impressed family and friends. Click on the Order button at the bottom of the page. You’ll be offered various extras, but click continue if you prefer not to add them.
Step 11: You can either have the cards sent to you or directly to the recipient. Make your choice, enter an address, then go through the payment process to check out. That’s it, you’re all done, and the cards are on their way.
How to design a personalised greeting card online
There was once a time when anyone wanting to mark a special occasion with a greeting card would be required to brave the psychedelic torture of a trip to Clinton Cards. Now you can create and send a card from your desk with services such as Moonpig. In this step-by-step guide, we'll show you how.
Thanks to Funky Pidgeon, Hello Turtle, Moonpig and others, you no longer have to make an arduous journey to secure a ‘Sorry your Surface tablet didn’t prove an effective skateboard’ card.
Online services offer a different way of providing for your amusing stationary needs. Personalised greetings cards have become increasingly popular over the past few years, with companies such as Moonpig, Hello Turtle, and Funky Pigeon offering an impressive range of customisable missives.
Many of the features, and indeed the way in which you use them, are common to most of the websites. The options are generally to either select an existing design that you like and insert the name of your intended recipient, or for the more adventurous you can upload your own image which can then be incorporated to the many templates available.
When you’ve finished your masterpiece you can tell the company to post the creation directly, meaning you don’t even have to make the trip to the post office. How very civilised.
If a static image is too traditional then Moonpig now also offer video cards. These can be created on your smartphone or computer, where you leave a simple, short message which the recipient can view on their smartphone via the free Moonpig app. Most of the companies also offer personalised Calendars, Mugs, T-Shirts, Alchohol, Flowers and - of course - those ubiquitous cuddly toys.
Creating your own simple, personalised gift has never been easier or more convenient. In this guide we’ll take you step by step through the process (using Moonpig) so that you’ll never need to suffer the tyranny of wrapping paper merchants again.
How to make a greetings card with Moonpig
1. Browse to and set up a free account by selecting the Login/Register option on the top menu bar. The signup process is very short and does not require you to enter your credit card details.
2. On the homepage, cards available are sorted into handy sections (Birthdays, Weddings. etc.), with a more detailed list in the left column. If you’re after a specific image then use a keyword in the search box: ‘Computer’ for example.
3. The results returned 89 possible designs that match ‘Computer’. These are displayed in a grid with the highlighted option expanded on the left. Now simply browse through the list for a suitable card, and let the customisation begin!
4. Once you’ve found a design, highlight it so that it appears in the preview pane. Here you’ll find four tabs across the top which show you the various areas of the card and which elements can be customised.
5. After selecting the card size from the drop down menu in the preview pane, click ‘Next Step’. Now you are taken to the Personalisation area. Here you can select which pages you want to edit by clicking on the relevant icon.
6. Clicking on the front page brings up an edit field where a replacement name can be entered. To edit the dedication inside select the ‘Inside Right’ icon, then move your mouse over the empty space to highlight the sections available.
RELATED VIDEO


