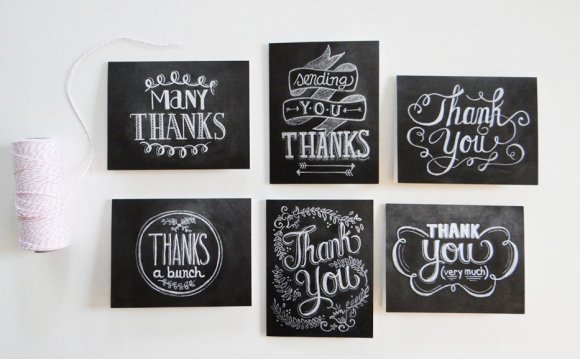
 Handmade gifts and cards instantly brighten up my day. There is so much joy that I get when I see something that’s been done with a lot of love. Creating thank you cards is such a beautiful way to express your gratitude to someone whom you dearly care for — and a pop of color can make it look perfect.
Of course, it’s easier to just dash to your nearest card store and pick one up. But what satisfies my soul most is when I create for myself, and it’s no different when I create for others, too. With the holidays due shortly, these DIY watercolor thank you cards are sure to be a huge hit. —
Hi! I’m Zakkiya, the creative mind behind Inkstruck Studio. I’m an illustrator and designer currently based in Doha, Qatar. Although ethnically Indian, I was born and bred in Dubai. I love creating illustrations in watercolor, graphite and colored pencil. I let go of my profession in architecture in 2013 to follow my passion for art, and since then there has been no turning back.
Materials
Steps
1.The double color-wash card
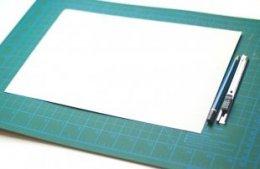
Cut out some watercolor paper of size 8″ by 6″. We’re going to create a card of the size 4″ by 6″.
Then, fold it in half and smoothen the crease by using the blunt side of a cutlery knife. Ideally, a bone folder is what’s used for this purpose but if you don’t have one lying around, this works just the same way.
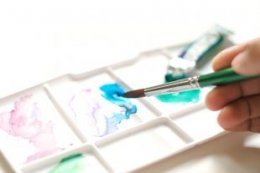
Open the card and lay it down on the table. Get your size 8, round watercolor brush out. The colors I’ve used for this card are “turquoise” and “viridian hue.” You can use any combination of colors you wish to.
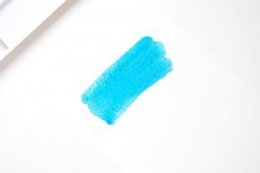
 Take a good amount of the color turquoise on your brush. Lay down a few strokes of the color.
Clean out your brush and take some viridian hue watercolor. While the paint is still wet, lay down a few strokes, making sure it is in contact with the turquoise.
Again, clean out your brush and take some turquoise color. Paint a few strokes on the other side of the card. Continue until it touches the viridian hue color. This should be done when the paint is still wet.
 Wait for the card to dry.
Now we’re going to write the words “thank you” on it. There are a number of methods you can use. Here I’ve used a dip pen and white acrylic ink to write. You can, however, use a smaller sized paintbrush with white acrylic ink, gouache or poster color. Another method is to use a white gel pen. Allow the card to dry.
2. The single color-wash card
Unlike the previous card, I’ll be using a single color for this. Create a card from blank paper using the steps as explained above. Starting from the top left, start painting a heavy wash of color with a flat brush. Make sure there is enough pigment and water on your brush.
Continue to paint until you’ve covered about 3/4th of the paper. Create a bit of texture wherever you stop. You can do this by removing the excess water from the brush, leaving only a bit of pigment. Wait for the card to dry.
Using a dip pen or any of the techniques I’ve mentioned above, write “thanks kindly, ” or your own choice of words. I went for a slightly whimsical style of lettering for this card. Allow the card to dry. In case the card doesn’t close well, put it inside a heavy book and keep for a few hours.


RELATED VIDEO

Share this Post
latest blog posts
-

-

-

-
 Christmas cards offers November 9, 2023
 -
 CVS Christmas card November 5, 2023
 -
 Christmas cards Making November 1, 2023
 -
 Make your own Love cards October 28, 2023
 -
 Cards from October 24, 2023
 -
 American Greetings Boxed Christmas cards October 20, 2023
 -
 Make your own Valentine cards online free October 16, 2023
 -
 Print your own Christmas cards October 12, 2023
 -
 Card companies online October 8, 2023