
 With the holiday season now over I know that some of us will be sending Thank you cards, so I wanted to show you a fun and easy way to create some cards that can easily be done in bulk, or you could even make a set and send them to someone as a gift!
Complete materials for this tutorial are found at the end of this post.
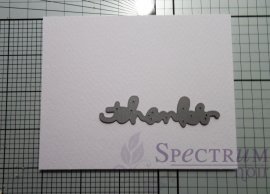
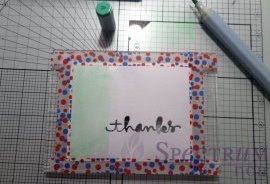
Take your die and work out where on the page you want the sentiment to be.
Using your die cutting machine, die-cut the word and set aside.
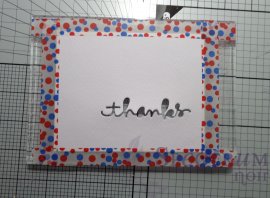
Tip: To stop your watercolour card from warping, thoroughly tape it down on all sides. I use washi tape (you could use any low-tack tape )and a large stamp block.
 Once taped down take your brush and add a wash of water over the cardstock.
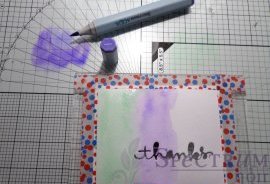
Take your first color and scribble onto your glass mat.
Then take your wet brush and wash over the first area of the card.
Now go in with your second color in the same way, making sure the colors overlap and blend into each other (add more water as you need).
Now repeat the above steps with your third and fourth colors, again making sure to blend and add more water as you need to.
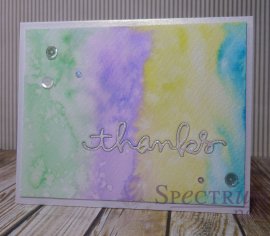
 Once I had finished this step and it was nearly dry I then flicked some water across the card to create droplet effect.
I then removed from the block and trimmed off the edges.
Create your card base using the Centura Pearl cardstock.
Using what is left cut a section of card to the same size as your watercoloured card and adhere the watercoloured card to this. Make sure that you stick it to the reverse side of the Centura Pearl (the un-pearlized side).
 Once you have done this take your brush and pens and color the white cardstock that is showing through the die-cut area to match the color of the card.
You can either use the white die-cut sentiment that you cut from the card, or cut the same sentiment from some glitter cardstock.
You could use any cardstock for this, it really is down to what you prefer.
Adhere your cardstock to the front of your card and embellish as desired.
I have added some sequins, but you could add some twine, gems or ribbon.
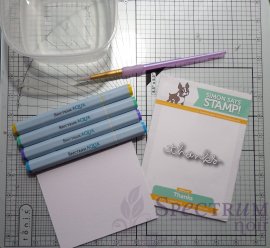
Supplies:
Spectrum Aqua pens – Sea Green, Heather, Sunflower & Kingfisher.
Watercolour cardstock cut to 5×4
A brush (here I used a size 8 Royal Crafter’s Choice)
Washi Tape/Low Tack Tape
A palette or glass mat
Water
Tissue
Simon Says Stamp “Thanks” die


RELATED VIDEO


Share this Post
latest blog posts
-

-

-

-
 Christmas cards offers November 9, 2023
 -
 CVS Christmas card November 5, 2023
 -
 Christmas cards Making November 1, 2023
 -
 Make your own Love cards October 28, 2023
 -
 Cards from October 24, 2023
 -
 American Greetings Boxed Christmas cards October 20, 2023
 -
 Make your own Valentine cards online free October 16, 2023
 -
 Print your own Christmas cards October 12, 2023
 -
 Card companies online October 8, 2023