
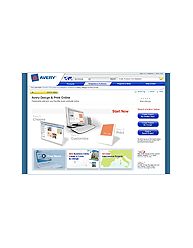
 Step 1: Start New Project
Step 2: Select Specific Product
Instructions: Find your product by entering the product number or by selecting a category and product description.
Instructions: You'll find a variety of designs to choose from. Select a design that best suits your business.
Step 4: Customize the Front
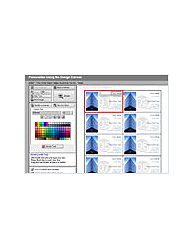 Instructions: First you'll see the front of your cards, or "Front of Sheet." Click on the Zoom button for an enlarged view of the template. To replace the placeholder text with your information, click the text boxes inside the template. Most business cards include information such as name, job title, address, city, state, ZIP, phone, fax and email address.
Instructions: You can also change the font style, size, and color of your text.
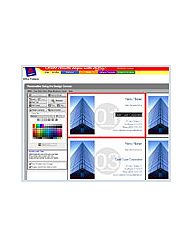 Step 6: Customize the Back
Instructions: Click on the Back of Sheet button to customize the back of the card. Follow the same instructions to change and format the text on the back. When you're done with the front and back, click Next.
Step 7: View Instructions & Print
 Instructions: Before you print, we recommend that you click View Instructions first. When you're done, click Print Your Project. Use only Avery brand products for guaranteed results.
Instructions: After you print, click Next and click the Save Your Project button. Your project will be saved in the Avery Design & Print Online format. This allows you to open and edit the project in the future using Avery Design & Print Online.
RELATED VIDEO


Share this Post
latest blog posts
-

-

-

-
 Christmas cards offers November 9, 2023
 -
 CVS Christmas card November 5, 2023
 -
 Christmas cards Making November 1, 2023
 -
 Make your own Love cards October 28, 2023
 -
 Cards from October 24, 2023
 -
 American Greetings Boxed Christmas cards October 20, 2023
 -
 Make your own Valentine cards online free October 16, 2023
 -
 Print your own Christmas cards October 12, 2023
 -
 Card companies online October 8, 2023