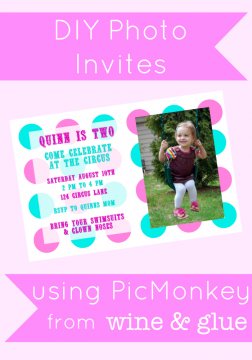
 DIY Photo Invitations Using PicMonkey {A Tutorial} | Make an original photo invitation and save a little cash!
I don’t think it’s a secret at this point that I’m kind of a control freak. And I’m okay with it if you want to take control out of that last sentence.
So when it comes to birthday parties, I go big, and I go perfect. Okay, who are we kidding? There’s nothing ever perfect about a kid’s birthday party, but I like to pretend.
So if you’ve ever gone to a photo website to try to upload some pictures and create a photo invitation for your kids birthday party only to find that none of them really fit what you want to do, then I’m your gal.
Besides, when you do them yourself, you can print the exact amount you want for a low price. For example, one photo printing store sells a set of 20 for $15. At the same photo printing store you can buy 20 4×6 cards that you made yourself, exactly as you wanted, for $3.80. Nice, eh?
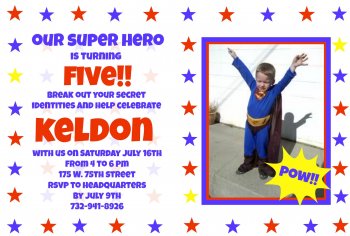
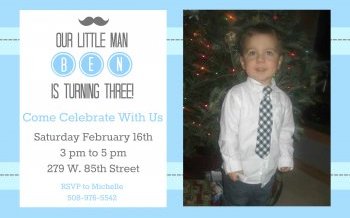
Want to see some examples I made?
Want to see how to do it?
Of course you do!
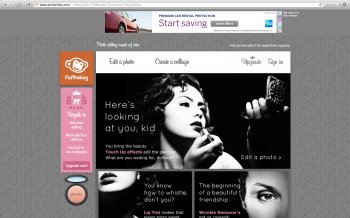
1. Go to PicMonkey.com They have the free stuff and the stuff that costs money. If you plan on doing this regularly, buy the plan! It will totally be worth it. Also, note that I was able to make all of the above with the free stuff.
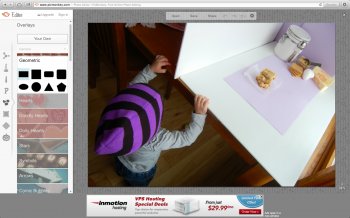
 2. Click Edit a Photo and pick any 4×6 (or regular size) photo that you have. Now pick the option (all the way to the left with the little shapes) that allows you to put overlays on your photo. You want to pick geometric and rectangle (see, it’s highlighted in the picture).
3. A black rectangle will show up on your picture. You want to make it bigger than the picture you currently have, and make it the color you want it to be.
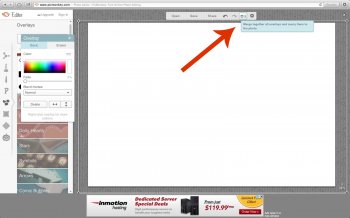
4. Once you have it the color you want, click the button at the top of the page that looks like paper with the arrow. It will combine the layers, so that it will make it easier to move things around. Like taping down your plastic table cloth before you start doing a really detailed craft on it. But once you tape it down, you can’t pull it back up (without disrupting what you’ve added since) so make sure you have it the color you want it. Okay, more like gluing down a table cloth.
5. Now pick your size. If you are going to print 4×6 invites you want 1800 x 1200 pixel size. (Be sure to hit the little unlock button so you can get your proportions exactly how you want them.) If you want 5×7, you want 2100 x 1500. (Just keep in mind that printing 5×7’s will cost quite a bit more than the 4×6’s.)
 6. Now is the fun part! Decorating your invitation! Start with a background. I am going to show you how I made my background for the Quinn invitation with the polkadots. Start by adding a circle.
7. Now if you right click, you can duplicate your circle easily, over and over and over to make polka dots. Want to learn an easier way to make the polkadots? (Which is what I did for the baby shower invite above.) Add it as a text layer, and use periods. Like period, space, period, space. Want a better explanation of that?
8. Once I had all my blue circles in place, I added pink circles. Again, duplicate the layer and then just change the color using the “Overlay” box that pops up.
9. You can add a long skinny rectangle overlay (that you will delete later) to help get all your circles lined up right.
10. Once you have your background the way you want to, glue down your layers again. But before you do, make a note of the color codes that you used so that you can make your text those colors to coordinate. For example, in the picture below you can see that the color pink I used was coded: ff82de
11. Now add a picture, by going to the “Your Own” button at the top under the Overlay section (the section you were just working in).
12. Size the photo and put it where you want it to be.
13. Now add a box that you can put text in. You can change the opacity of it as well as the color with the little “Overlay” box that pops up. That way everyone can see those circles that you spent so much time on.
14. Now just add your words. Again, it might make your life a little easier if you merge your layers before adding words. That way when you go to grab a word to change it’s size or color, you won’t accidentally grab your white box.
Once you are done, save it to your computer and print it just like you would print any photo that you wanted.
You can print one or you can print 80.
Once you get the hang of it, you will see that the posibilities are endless. And then you will be posting status updates asking for pictures of kids in superhero costumes or wearing ties just because you came up with the cutest design and you need a coordinating picture! (Thanks Michelle & Julie!!)
RELATED VIDEO
