 1
1
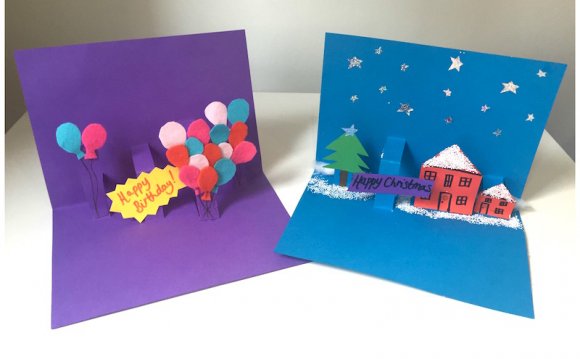
Think about who the card is for. Is it a card for a child, a teenager, or an adult? Are you wishing a friend or a relative happy birthday? Is the card going to be serious and sophisticated or funny and goofy?
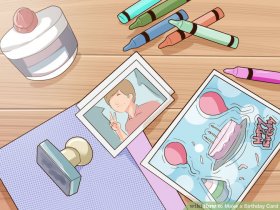
Gather your materials. Clear off a table and lay out the necessary materials for the card. For a basic birthday card, you'll need:- Construction paper or cardstock and stationery
- Coloring utensils such as markers, crayons, and colored pencils
- Glue
- Stickers
- Rubber stamps or other images such as photographs, magazine pictures, or images from cards that have already been used
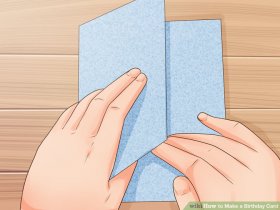
- Depending on how large or small you want to card to be, you can also use a piece of good quality cardstock (A4 size), cut it in half, and then fold it down the middle.
- If you have an envelope you'd like to use for the card, fold the paper so it will fit inside the envelope. Leave at the very least 1/8" (.3 cm) on all sides so the card can slide easily in and out of the envelope.
- Think of a riddle or poem. You can compose a limerick, look up a line from your favorite poem, or find a funny riddle.
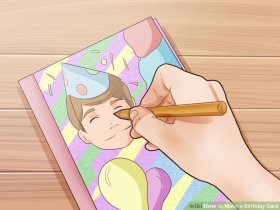
- Draw a picture of a person the card receiver admires or likes.
 You can also cut out and paste a picture of a person or of the card receiver. Add a thought or speech bubble over the picture and include a funny message or saying.
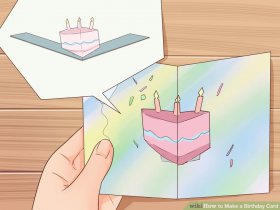
 - Turn the card a mini graphic novel. Divide the card into a grid and tell a little story.
- Choose a quote or saying based on a personal moment with the person, such as the first time you met them, or something they did on their last birthday.
- For example, if it’s your dad’s birthday and he likes to fish, you could add a stamped fisherman image and a piece of string glued to a fishing rod and anchor it to a drawing of a big fish on the front of the card.
- Bright colors are vivid and fun; muted colors are classy and more sophisticated. A card for a child may be filled with bright colors, stamped animals, and whimsical phrases while a card for a teenager or adult may be more muted and simple.
- Use your own handwriting or a computer generated greeting such as "Happy Birthday!” on different coloured paper. Cut it out and paste it to the basic card template.
- Add the person's name to the card to make it more special and personal.
- Choose a level of difficulty that suits your skills and time.
 Method 2
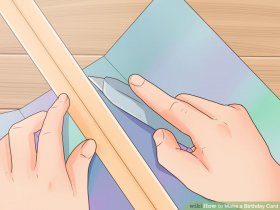
- Fold a piece of cardstock into thirds. Start off with a 8.5" x 11" (21.5 x 29 cm) sheet of cardstock and then trim it down as you see fit.
- Make even, firm creases when you fold the cardstock so the card looks professional and well made. If possible, use a bone folder to make even creases.
- If your creases aren't even, start over on a new piece of cardstock.
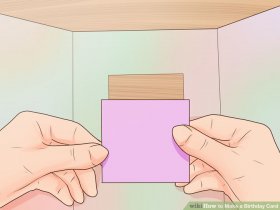
- Cut a window into the middle panel. The middle panel will become the front of the card later. The size of the item you want to display in the window will determine the size of the window.
- Generally, the window should be less than half the size of the card.
- Position a display item on the card, facedown. A display item could be another piece of pretty paper or embroidery, a doily, or a photograph.
- Choose an item that fits with the overall theme of the card that will look nice in the display window.
- To add a ribbon, use a hole punch to make two holes in the middle panel, above or below the window. Thread your ribbon through the holes and tie it into a bow. The bow should be facing away from you when you lay the card down.
- Adhere the display item to the cardstock with glue or tape. Run glue or tape along the edges of the item to make sure it is secure in the display window.
- Make sure the glue or tape is on straight and isn’t visible from the front of the display window.
- Place a piece of double-sided tape below the item and at the edge of the side panel. Fold over the side panel, while also pressing the tape in place.
- Your item is now sandwiched between the two panels and the middle has become the front. The left side is now the left inside panel of your two-paneled card.
- Write in the card. Feel free to write on both sides or only one side of the card.
- Try to create a message that matches the display item. If it’s a cute or funny image, include a cute or funny message. If it's a simple or elegant image, include a simple or elegant message. The tone of your card should be consistent with the theme of the card.
- For a cleaner look, create a "Happy Birthday" message in a word processor program and then print and cut it out and include it in the card.
Source: www.wikihow.com
RELATED VIDEO

Create Your Own Dollar Bill Drop Cards and Business Cards
How to create your own card game

How to create your own fut 14 card
Share this Post
latest blog posts
-

-

-

-
 Christmas cards offers November 9, 2023
 -
 CVS Christmas card November 5, 2023
 -
 Christmas cards Making November 1, 2023
 -
 Make your own Love cards October 28, 2023
 -
 Cards from October 24, 2023
 -
 American Greetings Boxed Christmas cards October 20, 2023
 -
 Make your own Valentine cards online free October 16, 2023
 -
 Print your own Christmas cards October 12, 2023
 -
 Card companies online October 8, 2023