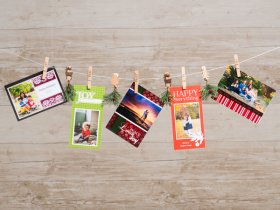
 You've got gorgeous photos in your galleries. Turn them into beautiful cards!
All cards are printed through EZ Prints and come with matching white envelopes. All you have to do is sign, seal, and stamp.
Gotcha: The "auto-color" option isn't available for cards. Make sure your photos aren't too dark before using them to create your cards. Not sure what "too dark" is? We have an article to help with that!
What Are They Like?
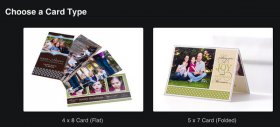
4x8 cards are printed on high-quality card stock and are available in matte, felt, and pearl stock.
5x7 cards come printed on luxuriously thick card stock, folded in the middle. They're matte with a UV coating that gives the outside just a hint of sheen. The inside is smooth enough to pen a personal message.
FYI: You can make cards using photos from any one gallery. To use images from multiple galleries, try Collecting photos.
Make Your Card!
Here's a quick video that shows you how easy it is to build your own cards:
1. Find your first photo.
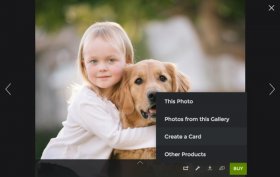 Browse your gallery until you spot the photo you want. From there, click the Buy button, then choose "Create a Card."
2. Choose your card type.
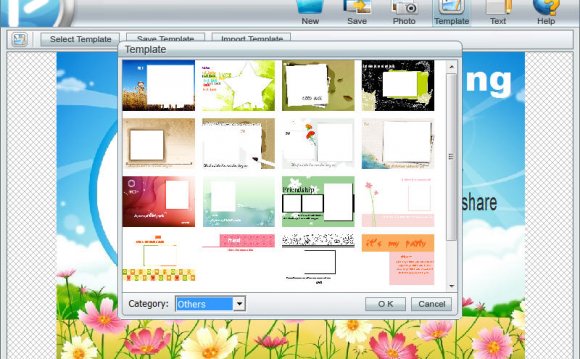
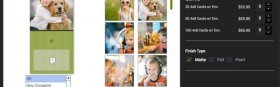
Pick whether you want a 4x8 or a 5x7 card, then scroll through the carousel at the bottom to select a design. When you see one you like, click it and we'll open it bigger.
Don't forget to click "Designs" at the bottom if you want to narrow down your choices and browse designs for specific occasions.
3. Customize it!
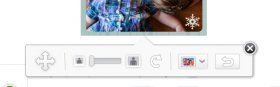
The little "headshot" icons indicate the spaces where you can drag and drop photos from your photo pool on the right. Once you've assigned the photos a spot, you can click them again to zoom, rotate, scooch around, or even convert to black and white!
When you're finished zooming and scooching, click the little "X" in the corner to close the edit bubble. You can always undo your changes and start over.
The "T" icons indicate areas where you can click and enter text.
NOTE: Some cards will let you customize the font size, type, and other options, but not all designs offer that choice.
4. Make it yours.
 When your card's perfect, click the Save button at the bottom to keep your changes.
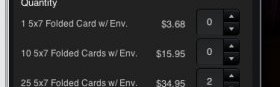
Choose the quantity of cards you want from the section on the right, then click the Add to Cart button at the bottom. Now you're ready to check out!
Need to Make Changes?
As the gallery owner, you'll find all your saved cards in an Unlisted (Anyone with the Link) "My SmugMug Creations" gallery, or a "Guest Cards" gallery for cards made by your guests. You can access these galleries by typing or into your browser address bar.
Browse to the card image and then click the Photo Tools wrench icon > Edit Card.
We'll open the card builder and you can edit your photos or text as much as you like. Don't forget to save your changes!
FYI: Your guests won't have the ability to edit cards themselves, but you can do it for them. When it's ready, share the link to the finished card in your Unlisted (Anyone with the Link) "Guest Cards" gallery. They can click the Buy button and check out from there.
If you've saved your card and are now ready to buy, find the image of your finished card in your "Cards" gallery and hit the familiar Buy button. We'll display your available options:
Tip: Need to make more than one card? Exit the card builder and start a new session.
Prefer to design your own card from scratch and upload for purchase? You can do that, too! Check out this article for the full how-to.

RELATED VIDEO

Share this Post
latest blog posts
-

-

-

-
 Christmas cards offers November 9, 2023
 -
 CVS Christmas card November 5, 2023
 -
 Christmas cards Making November 1, 2023
 -
 Make your own Love cards October 28, 2023
 -
 Cards from October 24, 2023
 -
 American Greetings Boxed Christmas cards October 20, 2023
 -
 Make your own Valentine cards online free October 16, 2023
 -
 Print your own Christmas cards October 12, 2023
 -
 Card companies online October 8, 2023